Removing W210 rear bumper |
Usually you get a boring 'spanner' rating as to how hard the job is. Here is a new way. This, as you can see, is a three beer level of job. It took me an afternoon, but then I am only a Sunday dabbler, not a mechanic.I got hold of one of those cheap Chinese systems, and the thing is, they work quite well, but I hate the display and the wire trailing to it. In the end I ripped out the micro, put in a better one, added two bargraphs and designed a display to fit discreetly. Then I wrote the code for it so that now it is accurate to 1cm, and right down to 20cm. Also, my design has only four wires to connect and it does not get power from the reversing lights. All I do is to sense the lights and then my display unit turns on the reversing module in the boot.
If you want a look at all the Nerdy stuff, what I did to the system :
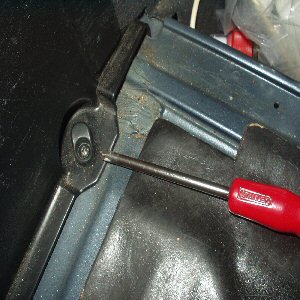
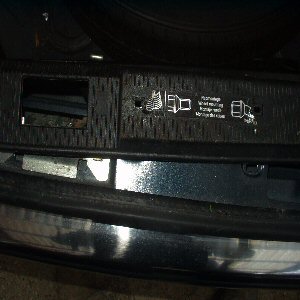
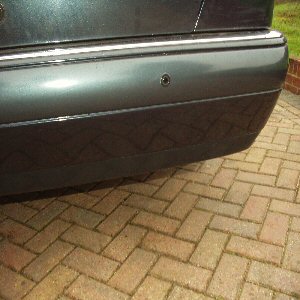
BIT BASHING This is how I removed the rear bumper from my 1998 pre-facelift W210 Saloon. Before you start spread a blanket right around the ground below the bumper. It is also handy to have an old beer crate or two to rest the bumper on as you remove it. There is no need to remove the mud-flaps if fitted BUT be sure to remove the plastic nut under each mud flap that goes up into the liner and you may have a self tapper just inside the wheel arch that goes into the liner. Take these out first !!! Make sure you have a six pack of Heiniken or London Pride depending upon preference. Drink one now.
Click on any image to see a bigger version.
|
|||
|
|
|
|
|
|
|
|
|
|
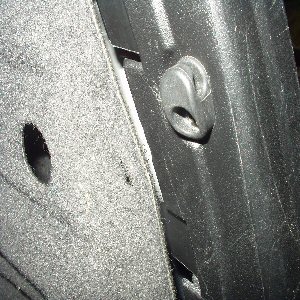
Okay, time to remove the bumper. Drink Beer. Slide the whole thing back carefully - it needs
a little force but not a great deal. On a Mercedes if you need to force anything you're doing it wrong.
I placed a beer crate at each end so that as I withdrew it, the ends rested on the crates. If you don't
have any, now is a good time to send the wife out for a crate of Beer (your car is off the road you see dear).
Drink the beer and you will have an empty crate.. |
|||
|
|
|
|
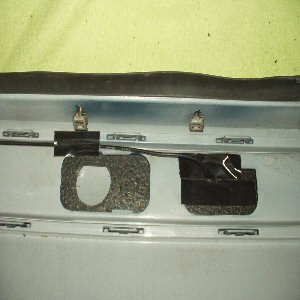
At each side of the car you will see two plastic guide brackets. Make sure that the bumper engages with both. I put a bit of copper grease on mine to make them slide more easily. On your own it can be a bit of a game getting both in. There are two ways to re-fit the bumper.(1) Carefully slide the bumper back on and replace the nuts etc. Then remove the bumper and fit the polystyrene block you forgot. Refit bumper. (2) Remember to fit the polystyrene block. I wondered what that block was for, but its obvious. Imagine, you're doing 80mph on the M whatever. Suddenly a coach full of French tourists rear-ends you. The impact will cause your bumper to deform and thus crush the polystyrene. Simple physics tells us that 'every action has an equal and opposite re-action', so the block expands throwing the coach off towards the hard shoulder, out of control into a field of caravanners. You carry on having felt nothing but a slight wobble through the steering wheel. Four happy outcomes! You arrive at your destination safely. Your car is unmarked. The holiday of a number of Frenchman is ruined. Two or more caravans get written off. Well that's what I think it's for. | |||
|
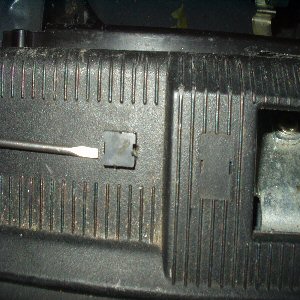
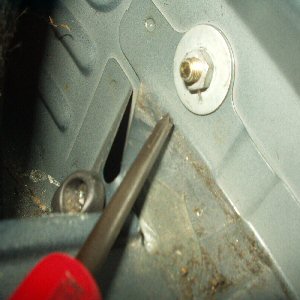
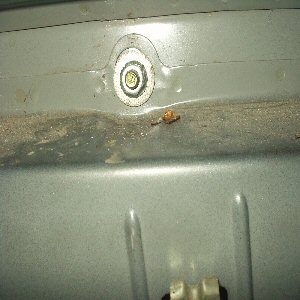
BEFORE you drill the bumper, it is a good idea to have a practice go on some scrap plastic. If your neighbour has a Citroen or a Smart Car, they are ideal. The hole saw that comes with the kit is not very well made (mine spin off centre). If you drill too fast, the heat from the saw can melt and distort the hole. About half-speed seems to be best, and don't forget to pick out the plastic from the first hole before you do the second.
|
|
|
(click link)---->Connecting to the reversing lights.
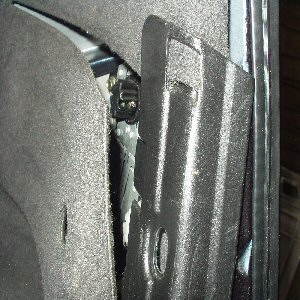
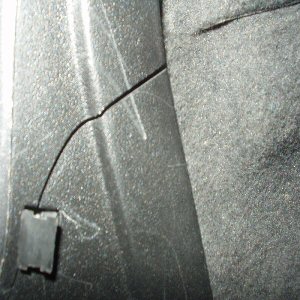
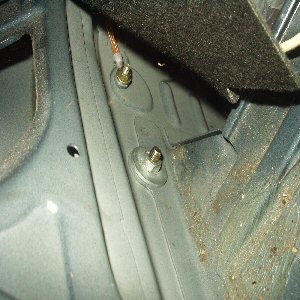
Before I put everything back I did fit a wire and used another nut to the earth point below the nearside light cluster, which I routed to the place where I intend to fit the electronics. This link to my next page shows you how to get to the reversing lights etc. Drink beer. Click on link. |
|||